Free is always good, except this is not quite free.
Or rather, it is free if you use any sort of holding tank treatment chemical.
I've done all sorts of holding tank stuff for Practical Sailor Mag. Chemicals, hoses, vent filters. Fun stuff. And in the process, in addition to learning all sorts subtleties, I solved all of my own odor problems, save one; odor from the bowl itself. If I flush with seawater and leave it a few days, there's some stink; sulfate in seawater is converted to hydrogen sulfide by millions of wee bacteria. If I flush with fresh water, it's better, but not zero; I guess something sneaks back down the waste hose, or perhaps up the feed hose. And either way, the bowl tends to get ratty, as marine flush volumes are limited and the water isn't chlorinated. I hate scrubbing.
Place a 20% solution of holding tank treatment in a spray bottle and mist the bowl down with each use, or at least each day, or and certainly whenever you'll be leaving the boat for a while. This cleans the bowl, treats the water in the bowl, and treats the water in the waste hose, preventing stink. And since it's the same treatment you would be using anyway, just subtract this from the usual dosage.
However, not all treatments work.
Less work. Less money.
- No blue sterilizing treatments, containing with formaldehyde and the like. Toxic, smelly, stain-prone, and well... gross. Too much like a portable toilet. Very tough on joker valves. Formaldehyde is listed as a human carcinogen. I don't understand why they still make these. Ban them from your boat.
- No bacterial treatments, like Bactank T3 or Happy Camper. They grow in the bottle and get gross. They are quite effective in the tank, just not for this.
- Pick a scent you like, preferably very mild. I like Forespar Refresh and Raritan CP, but Camco TST Ultra-concentrate is our favorite
. These are compatible with any type of holding tank treatment, including bacterial treatments. I tested a bunch for Practical Sailor Mag (February 2012 and December 2012).
Tuesday, April 25, 2017
Something Lazy, Something Free
As usual, Drew over at Sail Delmarva has been messing about with chemicals - here's a tip he has for everyone with a head...

Tuesday, April 11, 2017
Cockpit Cushion Toppers
Aboard s/v Galapagos, Melissa finds a wonderful use for something that would have been simply discarded. She also has significant puzzling skills:
Regular readers will recall that we recently had new mattresses made for our aft cabin. Part of that remodel was the purchase of some rather expensive latex foam toppers for the berths. These came at a cost of $570 for the space. That’s not an insignificant cost, even though it was completely worth every single penny. As every boat owner knows, boat beds do not come in regular sizes like your earthbound beds. Therefore, in order to get what you need, you frequently have to cut to fit. And you know what that means. That’s right. That means extra material. Extra EXPENSIVE material!
When we picked up our new mattresses we were blessed to receive all of the extra pieces of latex foam, neatly stuffed down into large plastic bags. I was going to toss them, but being the cheap and easy boat trick queen, I just couldn’t bring myself to do it. I don’t like to throw away perfectly good materials that I might put to use. So I kept them and waited for an idea to pop into my head. And it did.
Galapagos has a great cockpit. We love it. But one of the things that I’ve wanted to improve is the napability of the two longest sides. They are long enough to lie down on (one of the absolute requirements for us in a boat, being the famous sleepers that we are), but the hard Bottomsider-style cushions that came with the boat are dead uncomfortable. I decided to see if I had enough latex foam to make cushion toppers for them.
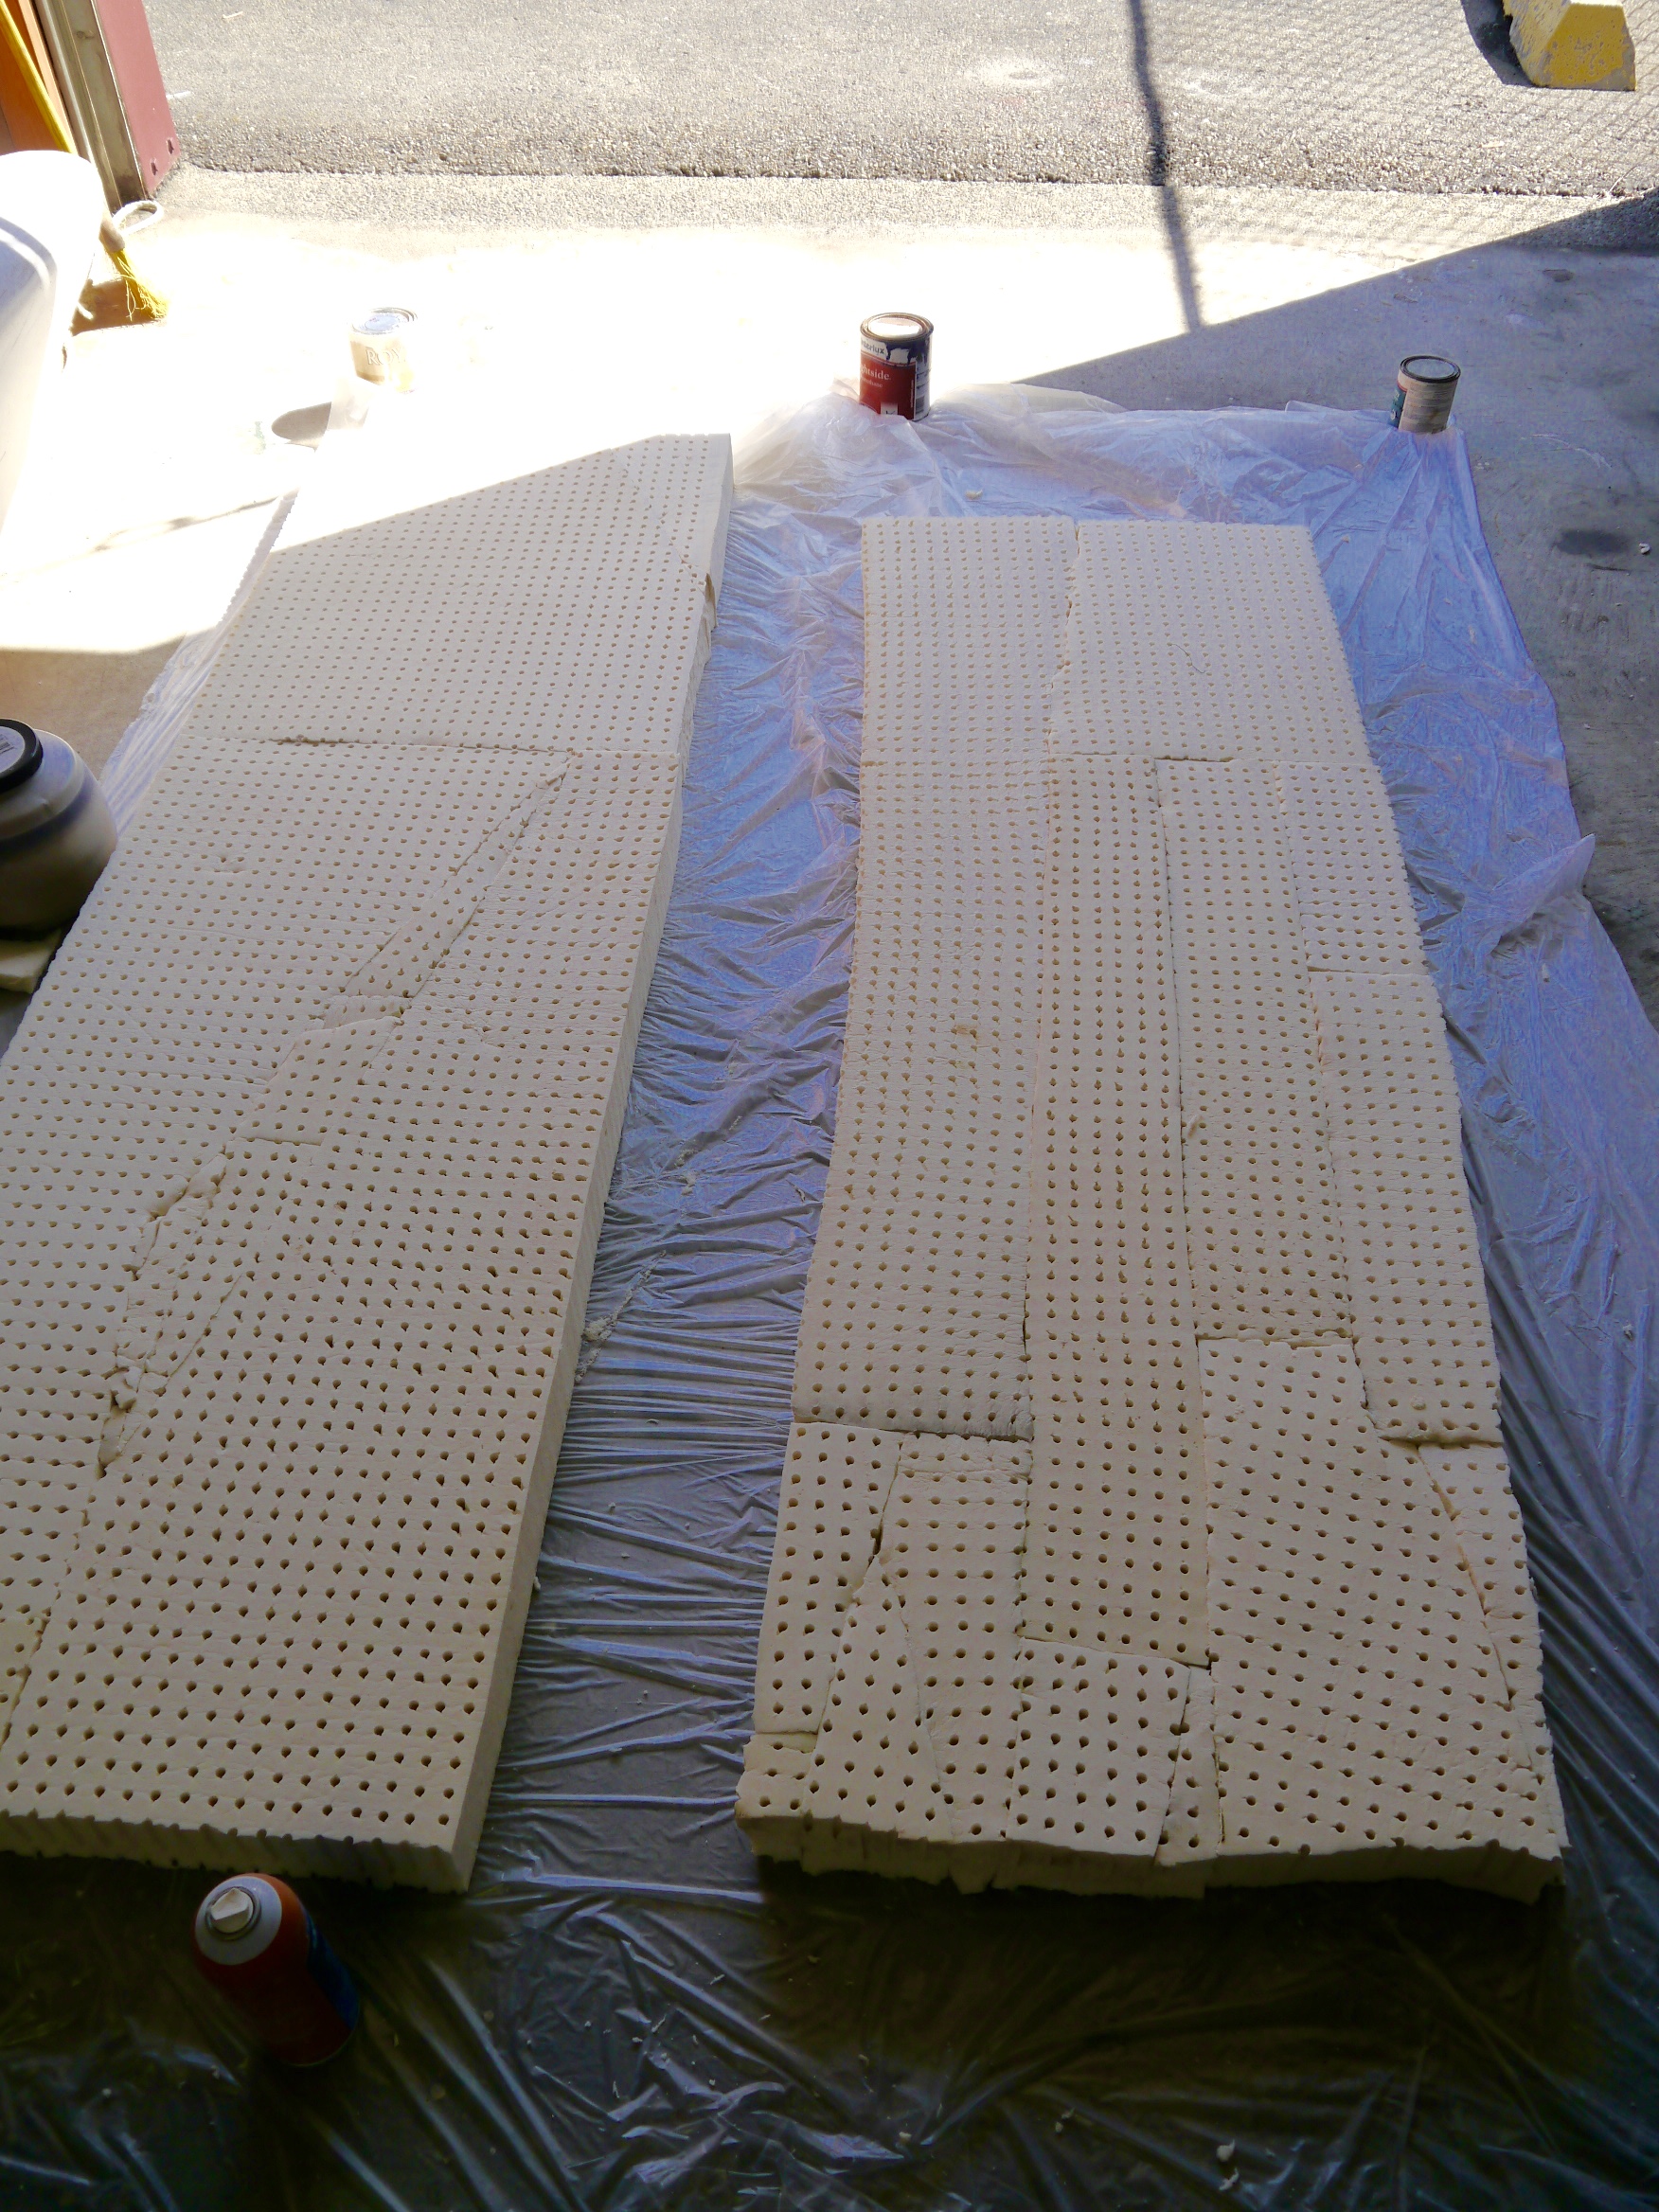
After measuring the sides, I lay the foam pieces out on some plastic up in our workshop/storage space at the marina. Supplied with Elmer’s spray glue and a healthy love of puzzles, I began piecing the foam together to make the long, thin rectangles required. I glued the seams as firmly as possible and then let them sit for a day to cure. Although I had the garage door open for all the gluing, I cannot swear that I didn’t lose a few brain cells to that spray. Do make sure you have good ventilation with that stuff. I trimmed the uneven ends with large scissors, making several cuts from the top down. Sure, I have an electric knife, the tool of choice for this job. It’s at home. Not at the marina. Scissors worked just fine. We’re not building the Parthenon here.
As I did with the new cushions in the v-berth and aft cabin, I decided I wanted to protect these with that PUL fabric I used to keep water from soaking into the foam. This also makes coverings easy to take off and put back on. Once again, I used the handy 40% off coupon Hobby Lobby has each week.
My only concern here is that there really are a lot of glued seams on these. It is possible that the glue will not hold up in the heat of Mexico and beyond. If that happens, though, I will still have all the other materials all set up to pop the latex out and replace it with foam all in one piece. The PUL fabric has a lot of stretch to it so it can be pulled tightly around the latex. It supports the seams in the foam as well as making the whole thing waterproof. The extra support makes it less likely that we’ll experience a total fail just from moving the cushions around.
To ‘upholster’ these, I wanted outdoor canvas that was water and UV resistant. Since it’s fall, this is a good time to look for summer fabric in the clearance section of Joanne Fabrics. I made a beeline for the clearance bin and found some perfect yellow canvas for $3.50/yard. Done! I actually bought extra of this because I liked it and it was such an excellent price. Retail on this canvas is $29.99/yard. As if I would ever pay that much.
The sewing was straight forward; not exactly my favorite kind of sewing but at least with this project my machine doesn’t protest. I cut two rectangles, some sides, then sewed them together.
These are just the ticket in the cockpit for sitting or laying around at anchor. While underway they can be stored along the sides in the v-berth, or even in the aft cabin, just tucked under the shelf, which will hold them in place. They are a cheap and cheerful addition to the comforts of home on board Galapagos.
Cost Breakdown:
Total cost: $48.20 plus tax. Win!
- Latex foam – 0 because it was leftover from another project, destined to be thrown out
- PUL fabric – 4 yards, 40% off – $31.20
- Yellow Canvas – 4 yards at $3.50/yd – $14.00
- Yellow thread – $3.00


Tuesday, April 4, 2017
Storm Windows? On A Boat??
This post originally appeared on Windborne in Puget Sound
We use Eolian all winter long (at the dock anyway), therefore we heat her all winter long. On houses, storm windows are used to provide an extra layer of insulation against the winter cold and weather. If you have ports like these:
And then you just drop them into the recess that the screen was in, and reinstall the rubber gasket. (If you look closely, you'll notice that there is a joint on the gasket - this should go to the top.) Be sure to get the gasket flange firmly pushed into the slot all the way around, otherwise the window won't close - you could break it if you try.
Easy peasy.
We use Eolian all winter long (at the dock anyway), therefore we heat her all winter long. On houses, storm windows are used to provide an extra layer of insulation against the winter cold and weather. If you have ports like these:
 |
| Do you have ports like this? |
...you can easily make and fit storm windows for them too! I don't take credit for this idea - it came from Drew, 6 years ago.
But in any case, it couldn't be simpler. First you need to remove the screens from your ports (we don't have ours installed - no bugs to speak of in the PNW... :^) ). It is easy to do this. The rubber gasket that traps the screens in place is not glued in - it is just wedged into a slot on the port frame:
 |
| Just pull it out |
You just need to pull it out. If you haven't ever had yours off, they may be glued in there with algae and other growth tho. With the gasket off, simply lift the screen out of its recess.
Of course, you'll need the actual storm windows. For these you'll want some kind of thin plastic - less than 1/8" (the thickness of the screens). I made mine out of the glazing from a couple of old poster frames that were destined for the recycle bin. I just traced the outline of the screen on the plastic sheet and then cut them out on my bandsaw. I suppose you could use a sabre saw, or even a hack saw (tho the corners would be tedious). And you might even want to smooth out the edges with a bench grinder and/or a file - I did this with mine.
 |
| And just slip them in where the screens were |
And then you just drop them into the recess that the screen was in, and reinstall the rubber gasket. (If you look closely, you'll notice that there is a joint on the gasket - this should go to the top.) Be sure to get the gasket flange firmly pushed into the slot all the way around, otherwise the window won't close - you could break it if you try.
Easy peasy.
Subscribe to:
Posts (Atom)


